Jeff's Native American Flute Project

Under Construction
Last updated 07/29/2009.
Under Construction
Last updated 07/29/2009.
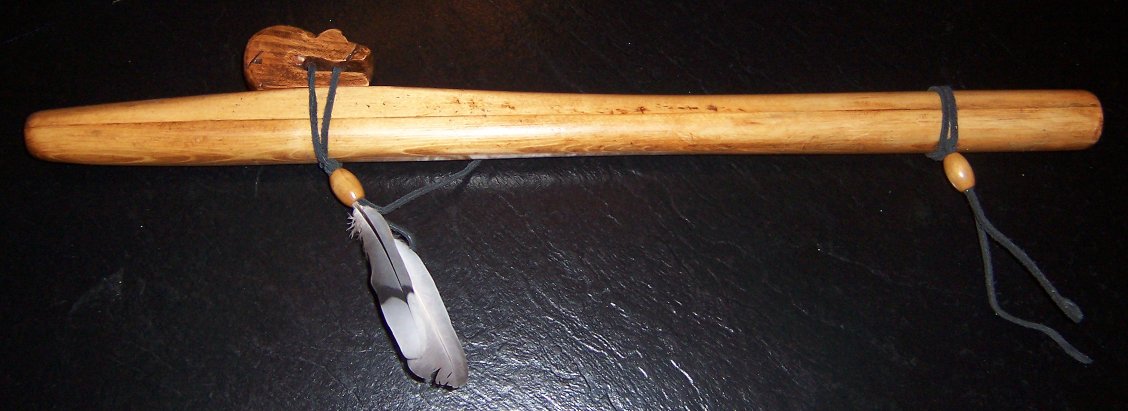
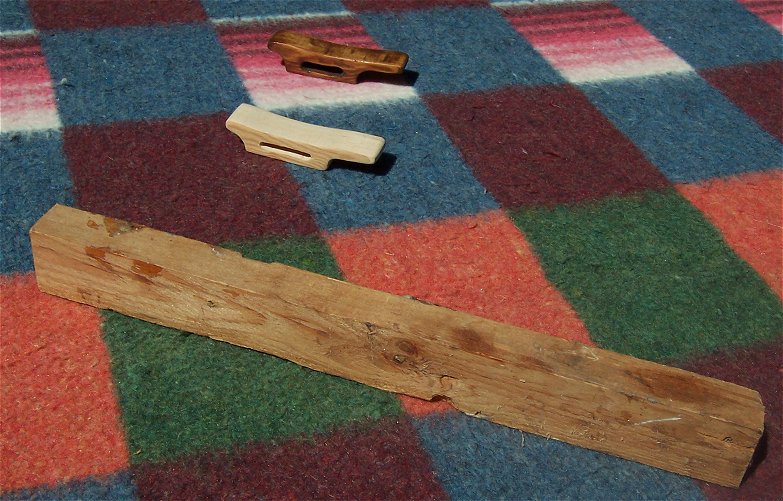
I recently developed an interest in making Native American Style Flutes. A few years ago, I bought a Navajo flute in Arizona, made by
Jonah Thompson, and I decided to take a stab at flute making myself.
My Jonah Thompson Flute -

Before investing a lot of time into the project, I wanted to see if I would actually be able to apply the principles I read about on various web pages
towards a working flute.
I made a mouth piece out of a scrap piece of wood, and bore a hole into one end to accept a scrap piece of PVC. This was my "Proof of Concept" flute.
After an hour of fooling around with it, and not getting any sound out of it, I did more research into the proper way
to shape the holes and flue in the mouthpiece ... then it worked!
The playing holes are just drilled at random for testing, and the block is a piece of scrap wood held in place with a broken rubberband. Aesthetically a far
cry from the Jonah Thompson flute above. 
My "Proof Of Concept" Flute -

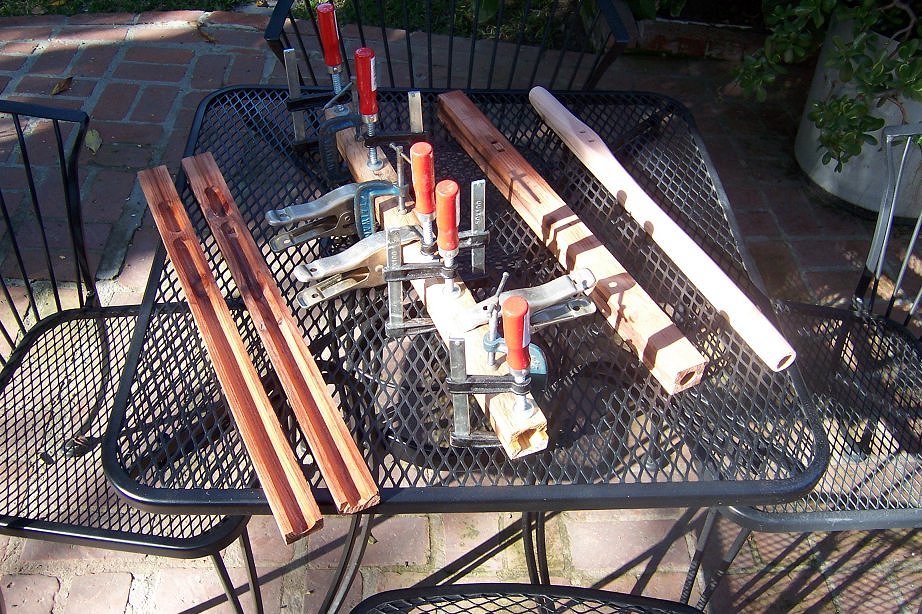
Some flutes are made from a solid piece of wood, but it is more common to make the flute in two halves, and glue the pieces together.
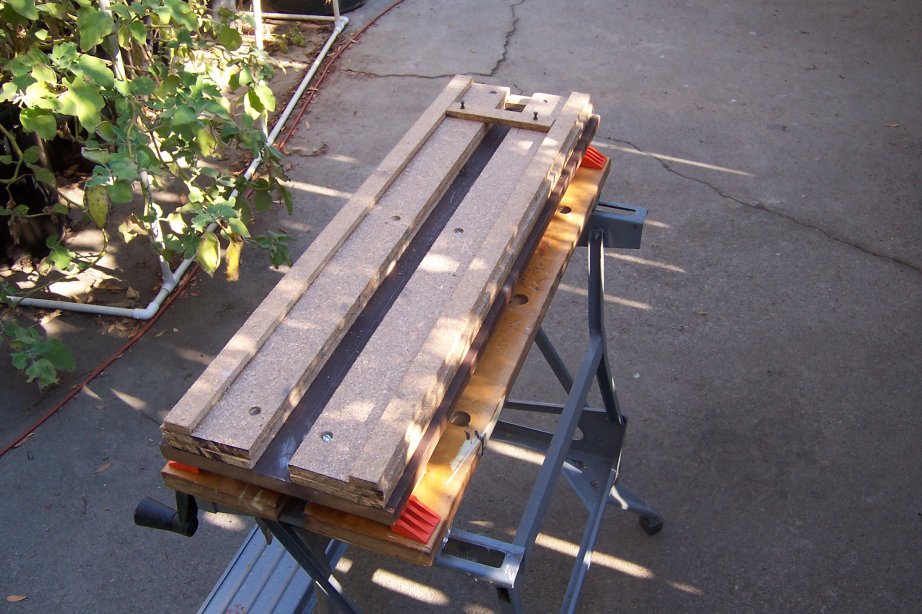
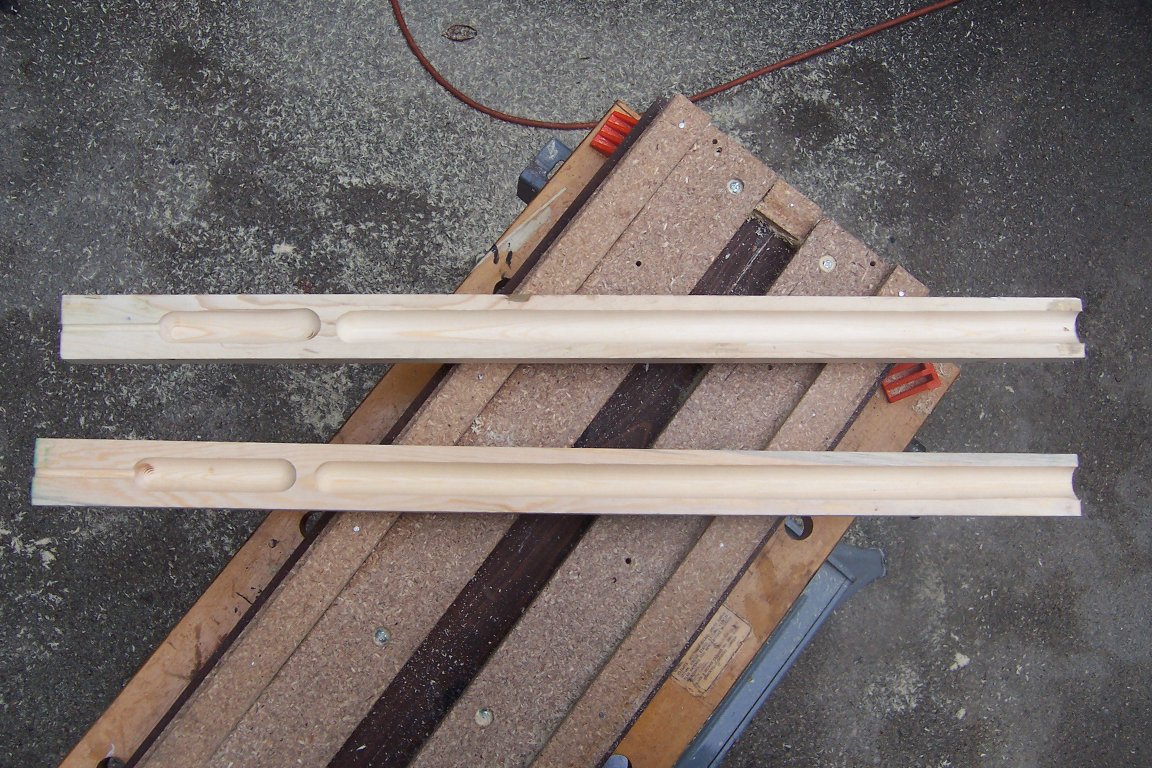
The next step was to make a jig to route the sound chamber and slow air chamber (SAC). I designed several generations of the jig in my head before making it.
My Routing Jig -
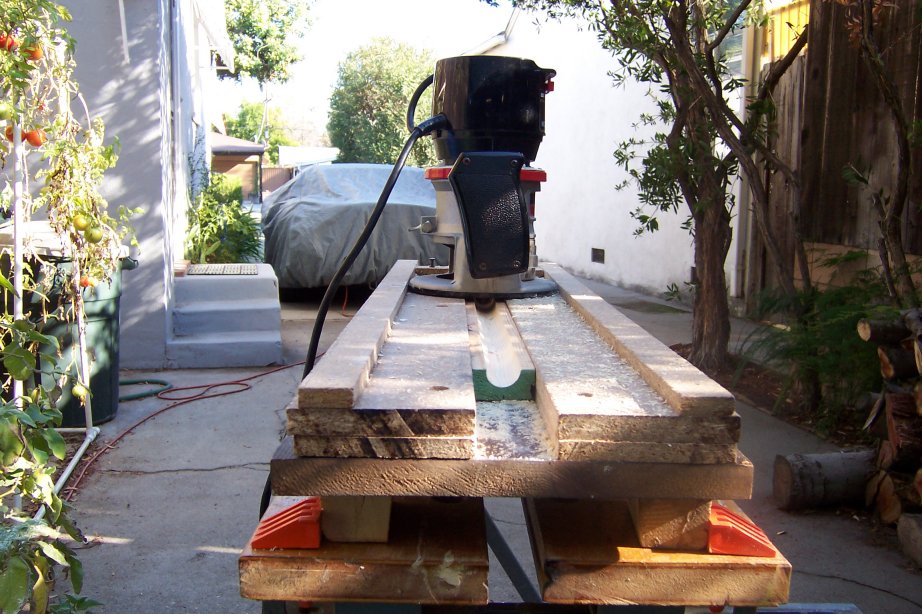
Routing The Sound Chamber -
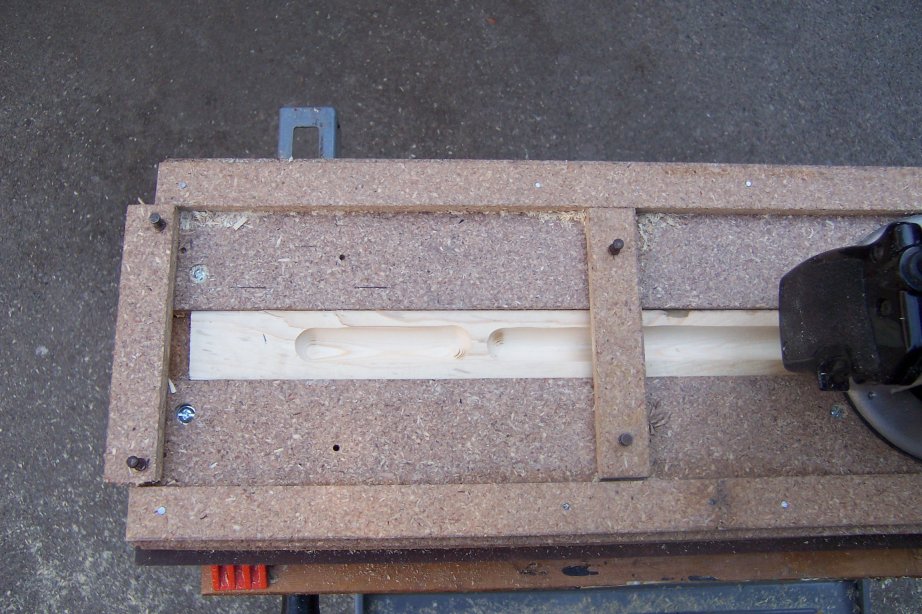
One of the reasons I wanted to make a prototype out of scrap, was to make it easy to determine where to put the jig stops without doing the math.  It also turned out to be a good idea, because during my first attempt at routing the SAC, I forgot to clamp down the other end. The wood moved and I
routed the SAC right into the Sound Chamber.
It also turned out to be a good idea, because during my first attempt at routing the SAC, I forgot to clamp down the other end. The wood moved and I
routed the SAC right into the Sound Chamber.  As you can see, the end stop for the SAC is hanging off the end. I'll reposition all the stops by about an inch before I make my first "real"
flute.
As you can see, the end stop for the SAC is hanging off the end. I'll reposition all the stops by about an inch before I make my first "real"
flute.
The Slow Air Chamber routed -
I removed the end stop, and routed a small channel from the SAC to the end. When the two halves are glued together, this channel will help guide
the drill bit when I drill the blow hole from the end into the SAC.
Blow Hole Channel to SAC - 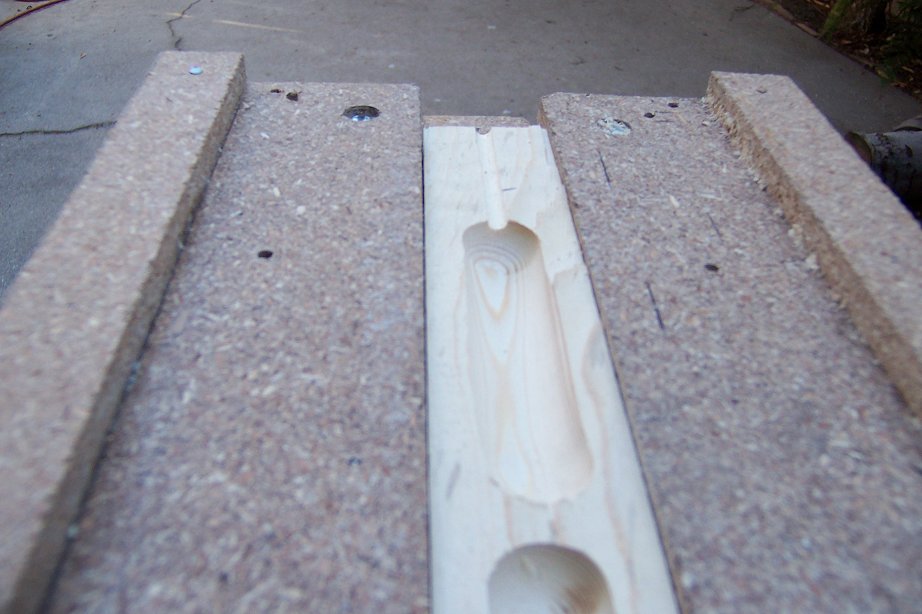
About two weeks have passed, and I'm back at work on the project.
I made the second half -
I may have jumped the gun on this part, but I made the Slow Air Chamber Exit Hole, and the True Sound Hole. I also misread the book, and made them too big.
I glued a small piece of wood in each to make the holes smaller, as you'll see later on.
SAC and TSH holes from the outside - 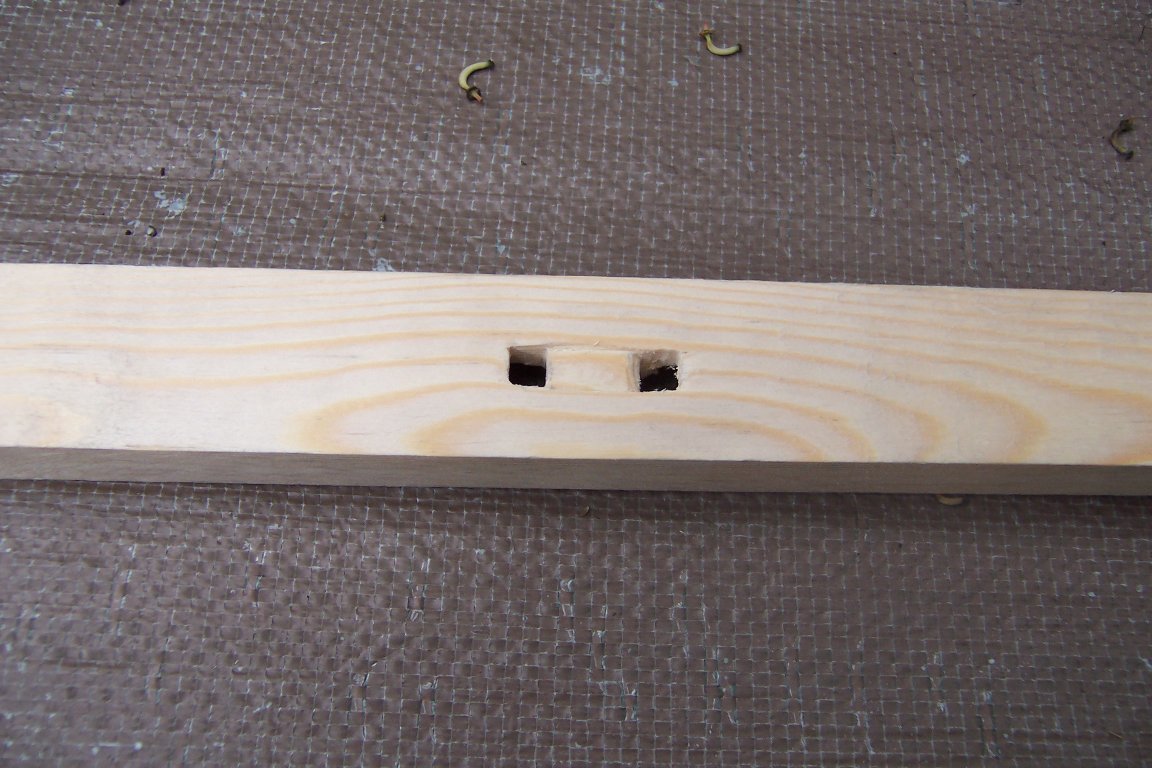
SAC and TSH holes from the inside - 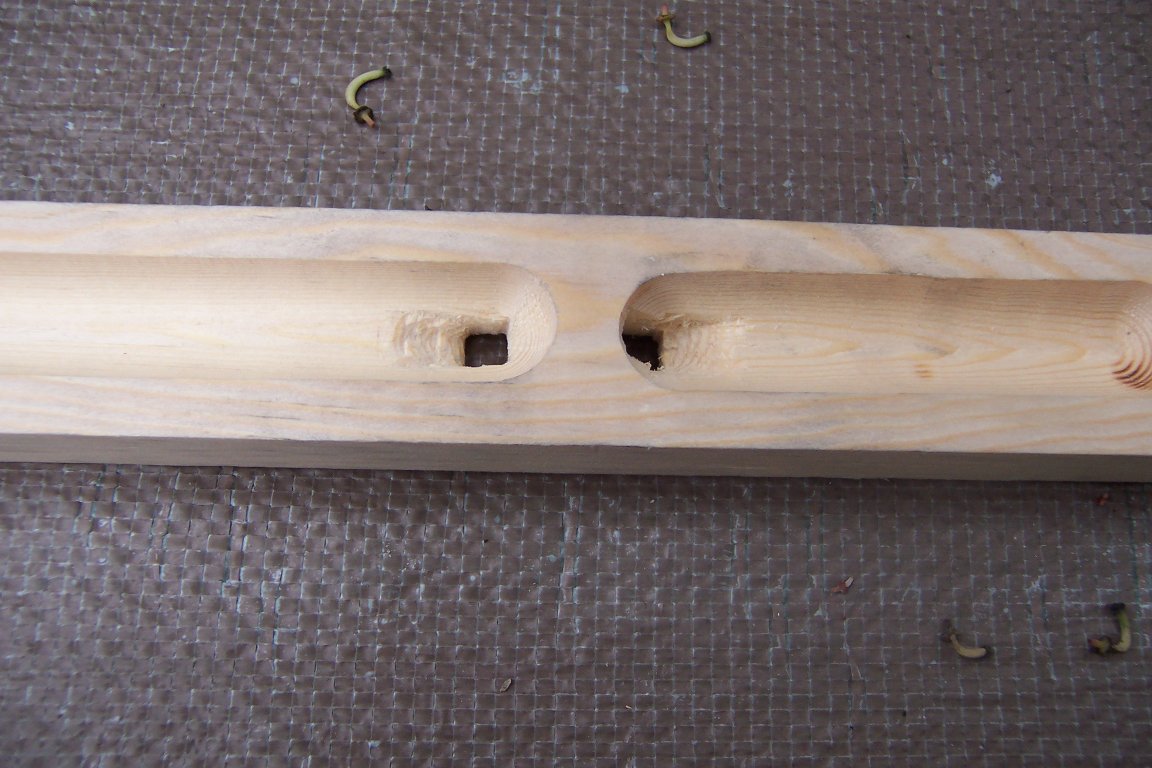
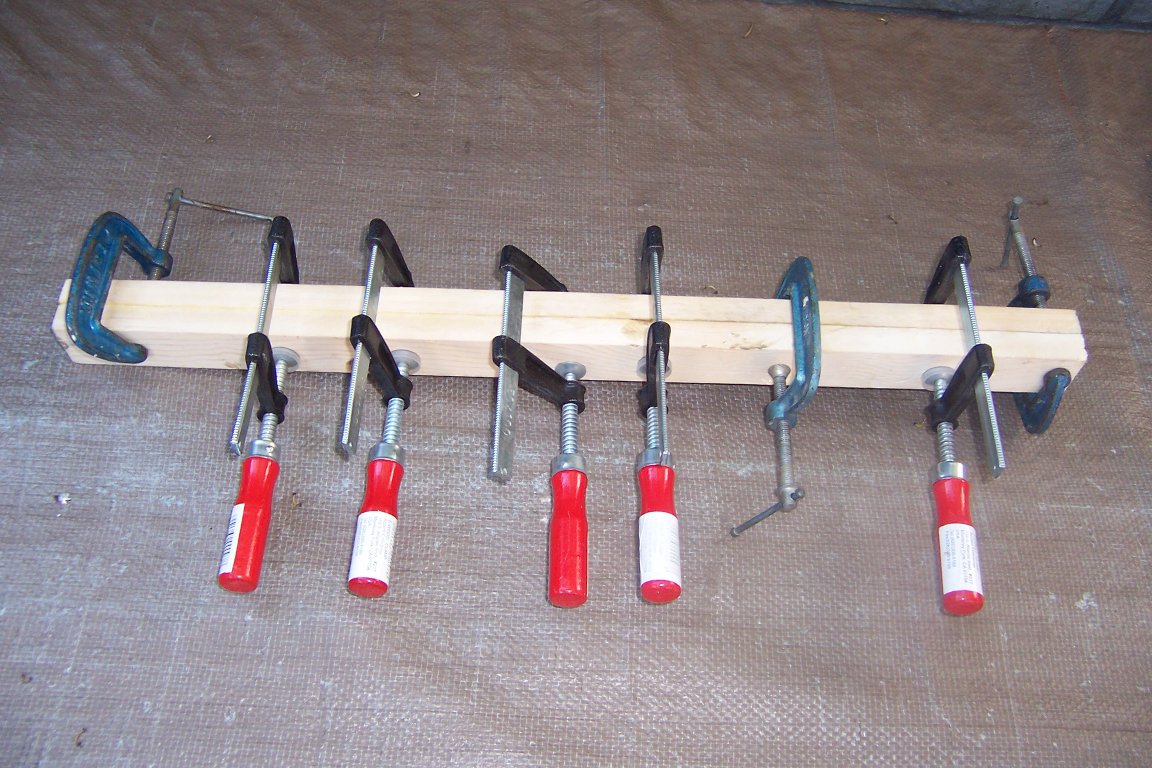
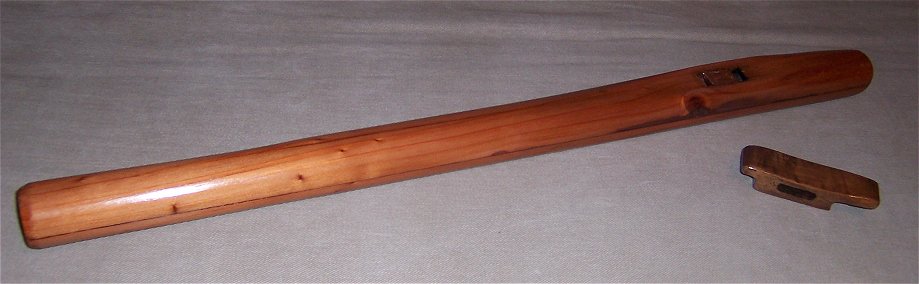
Here are the two halves glued and clamped together -
Next, I drilled the blowhole to increase it's size to 1/4", and I used a block plane and sandpaper to reduce the wall size, and shape the flute.
It's starting to look like a flute now! - 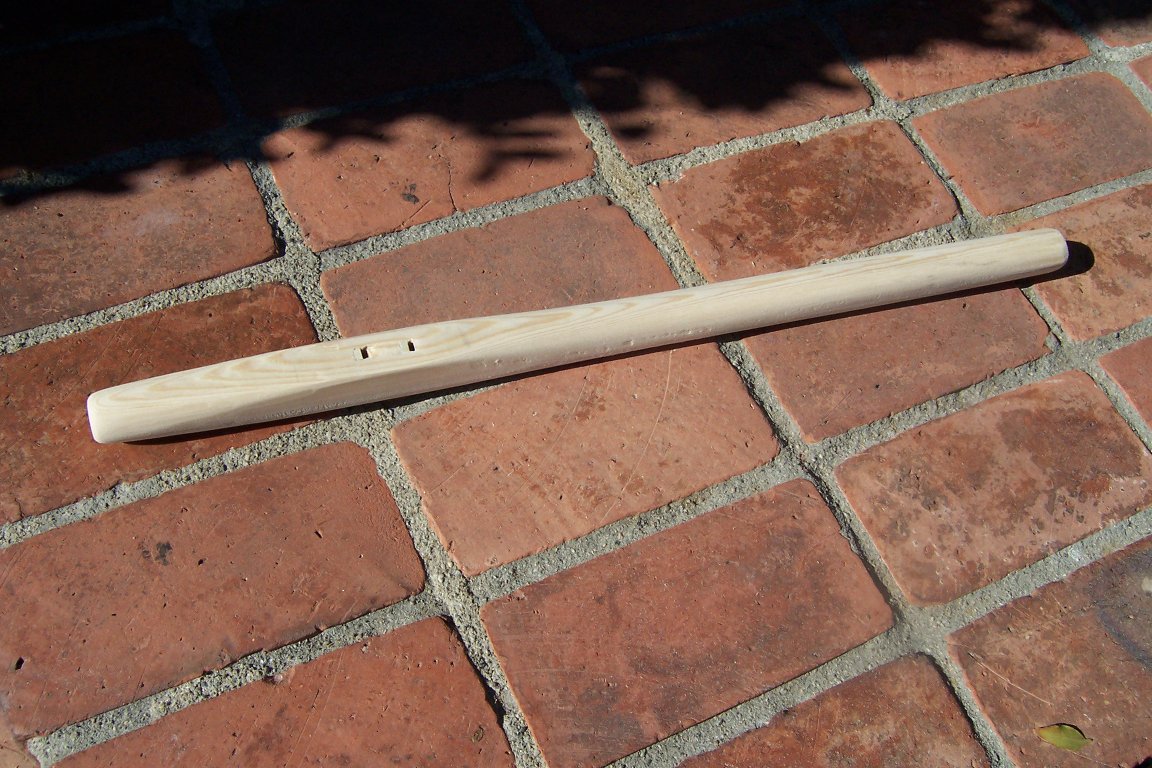
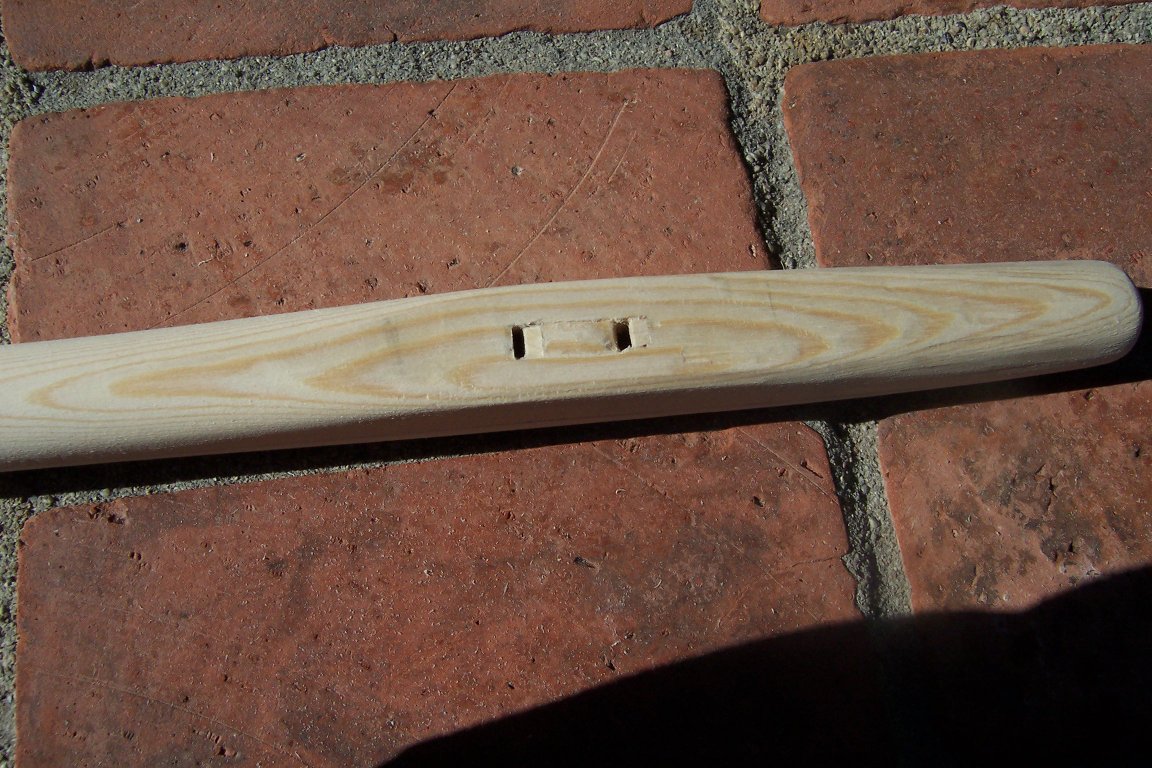
The SAC and TSH Holes and Flue (Windway) -
(Later, I had to remove the plug from the TSH, the original size was correct,
also, I made the flue a little deeper, and cemented a small piece
of copper flashing to the bottom of the flue, to prevent it from
swelling from the moist air passing through).
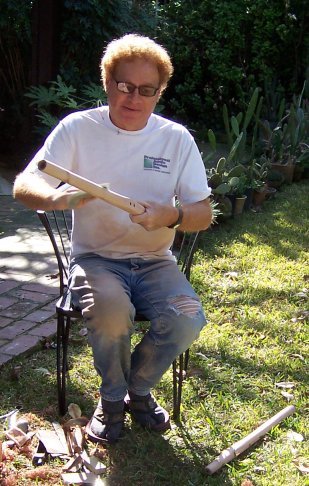
I wanted to see if it was going to work, so I positioned a block of wood in the proper place with a rubber band. It "toots", but it's breaking
into an overtone, too easily. I think adjusting the size and shape of the True Sound Hole will fix it.
Flute with Temporary Block For Testing - 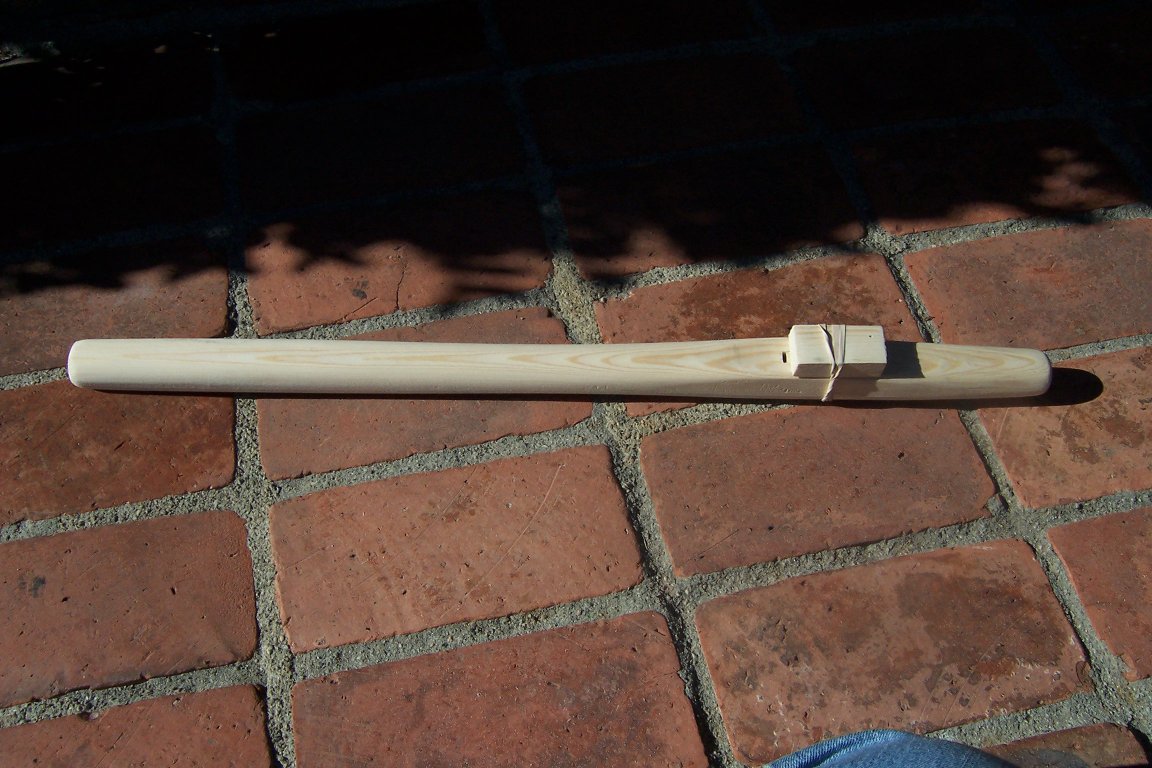
It seems that my original size was correct, and I should not have plugged it to make it smaller. I started scraping away the plug
that I had glued in, when the plug came entirely out. It was now a little bigger than I intended, but it cured the problem of the
flute playing an octave high so easily.
Now it was time to tune the flute. In it's current state, it's fundamental note was a "D". I shortened it a little bit at a time until the fundamental
note was a "G". That was the key of the flute Russ recommended in his book for a 3/4" sound chamber bore.
Next I drilled the starter playing holes in the positions for a "G" flute. After they were drilled, the fundamental note dropped to an "F#".
Instead of shortening the flute length again, I decided to see if I could adjust the playing holes for "F#" instead of "G". After spending a lot of
time going back and forth adjusting the playing holes with a Dremel rotary tool with a tapered stone, drill bits, and round files, I got the flute in tune.
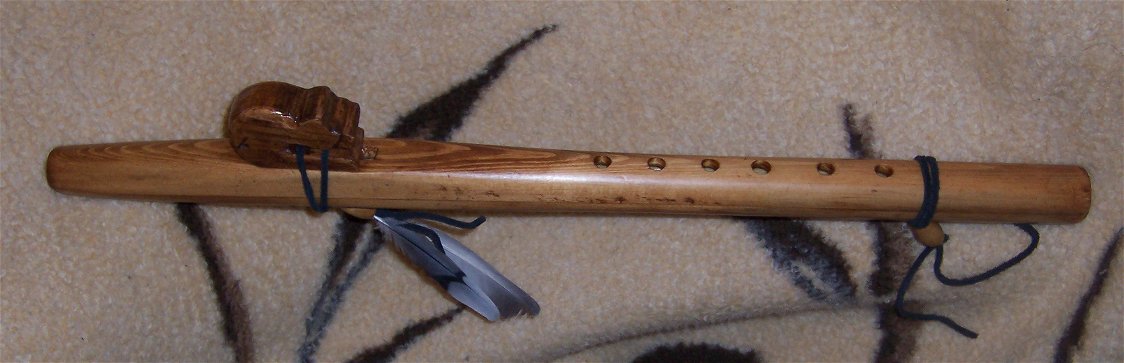
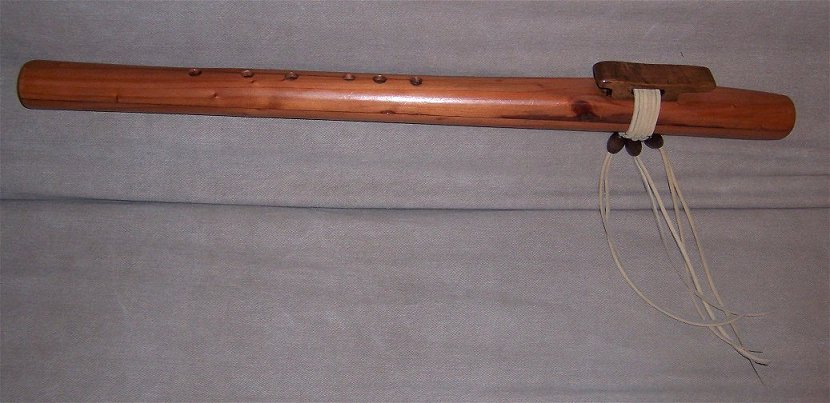
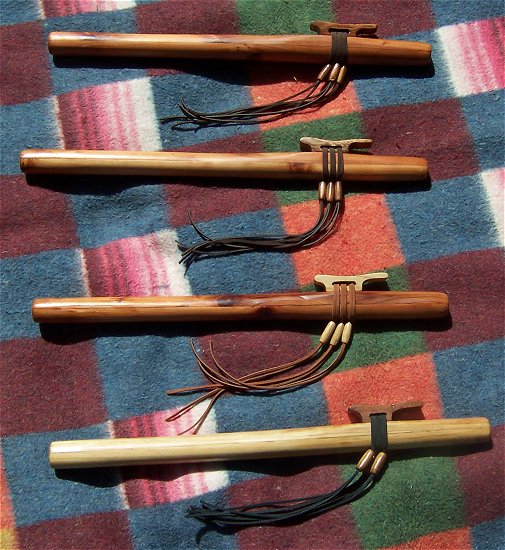
Flute with Playing Holes - 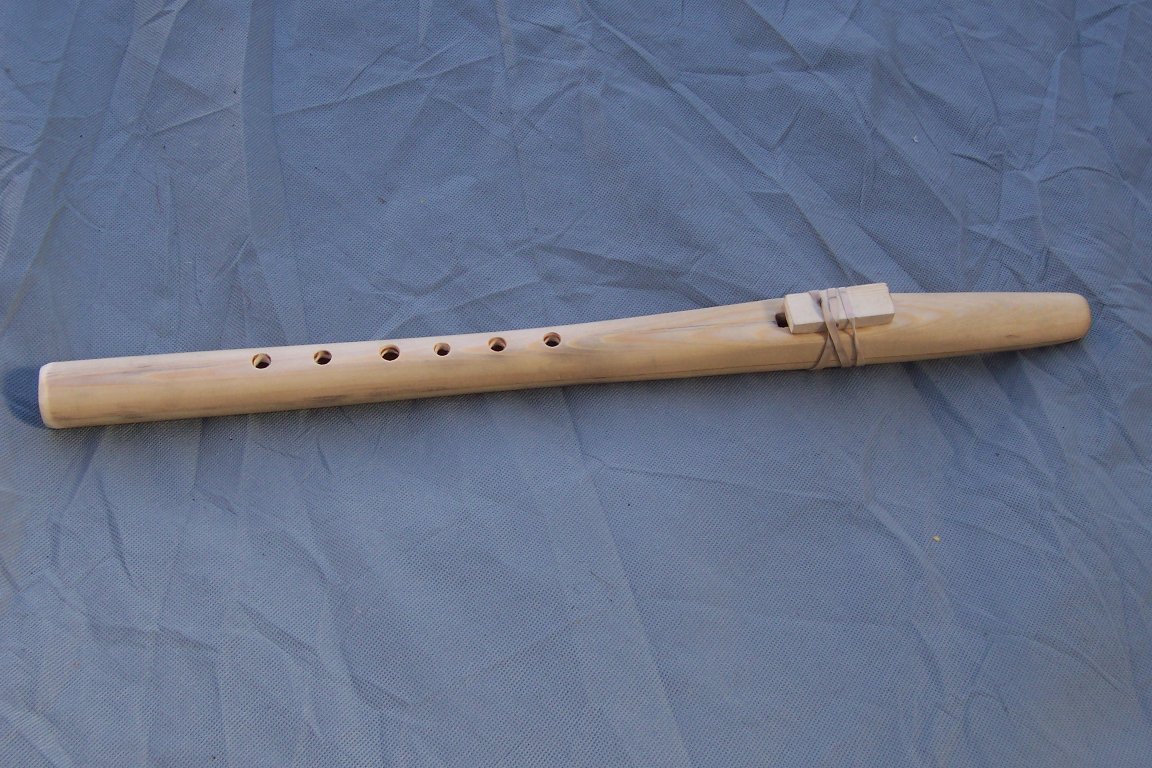
Right now it seems to play a little more "airy" than I'd like, so that's something else to look into, but otherwise it sounds pretty good to me.
I had intended for this to be a prototype, but it came out so nice, I consider it my first "real" flute.
![]()
You are visitor number